This is how’s the member portal login page looks like where members can login in through their credentials and access their portal.
FAQ
- Visit Exhibition URL
- Complete the registration process which includes:
- Accepting terms and conditions
- Booth selection from chart visible
- Add-Ons: Advertisement, Packages (optional)
- Fill in the complete information
- Complete the Payment
- A Thank you email goes to user as well as client with confirmation
- Visit the donation URL specific to a client
- Choose the project you would like to donate
- Fill the form and submit
- A Thank you email goes to user as well as client with confirmation
- Client can view the donation details in Donation Report
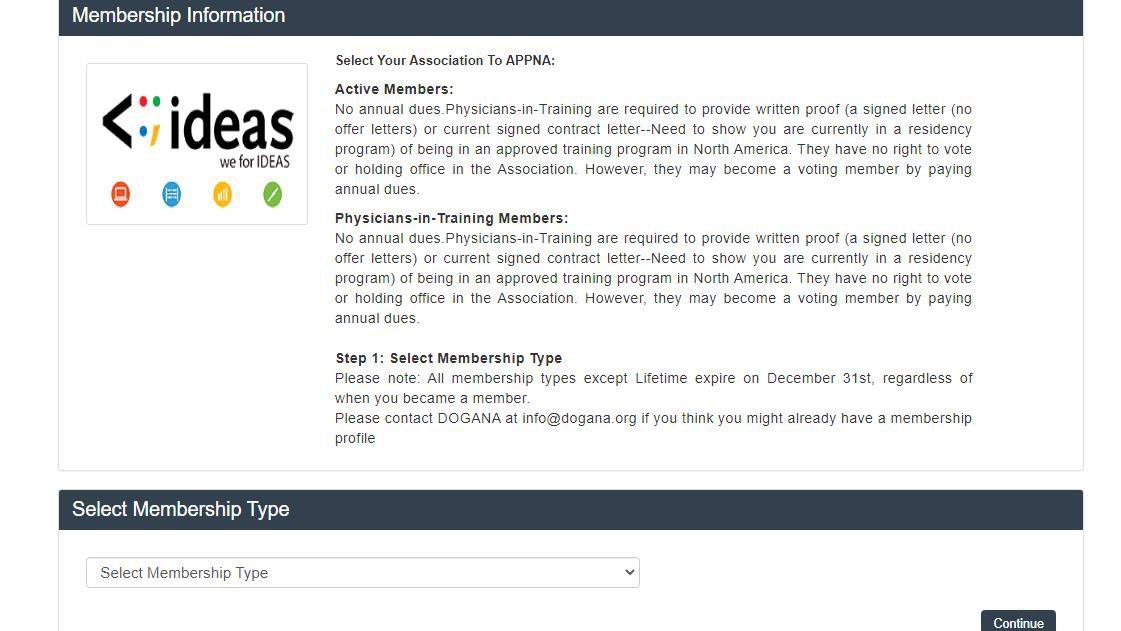
Membership can be created in the system so that member can get registered with it. A new membership can be created by following these steps:
- Visit the client portal.
- Expand Manage Member and select membership type from the menu.
- Client will land on the memberships page and existing memberships will be seen (if any)
- Click on the button create new membership type
![]()
- Fill in the data.
- Click on the submit button
 to create the membership type.
 - Click on the back button
 to go back to the Membership Types list.
 - To update an existing Membership Type, click on the edit icon
 on Membership Types list and the existing details can be edited.
 - To delete an existing Membership Type, click on the delete icon
 on Membership Types list and the Membership Type will be deleted after confirmation from you again (if any member is not associated with the membership type)
 - Click on the download icon
 to download the members associated with the membership type as csv.
 - Click on the copy button
 to copy the signup URL of selected membership type
 - Click on the Add button
 to create a member within the membership type
Revoke process is used if the member is rejected. Client can revoke member if he/she wants to apply again after getting rejected, this process is explained in detail below:
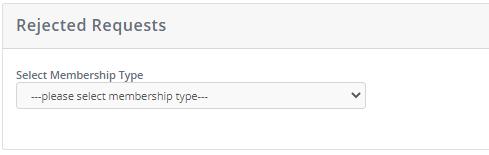
- Then go to the Membership rejected requests.
![]()
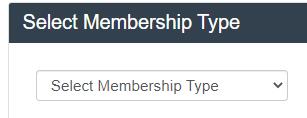
- Select your membership from the dropdown list.
- Once you select the member you will see Revoke button
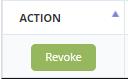
- Once you click on revoke the request would be moved to pending requests and removed from rejected request.
- From pending requests you can approve it again.
A member can be upgraded to another membership through current member list. A member can be upgraded into only one lifetime membership & multiple annual membership if the membership has check on Upgradeable to Other Membership.
- After creating a member, the member would appear in Current Membership List with the Upgrade sign in action column.
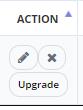
- Click on upgrade it will take to the screen of upgrade membership where you would select the same or different membership as per your choice.
- After selecting the membership type you can fill the form and process to the new membership.
- Then the member would be again in the current member list with the history record of its membership types.
- You will receive an email of upgrading the membership into new membership.
- If you want to upgrade the membership again then apply the same process to upgrade the membership in any other membership type.
- If you upgrade your membership into lifetime membership, then you won’t need to upgrade your membership because it would not be upgradeable anymore.
Annual membership expires at the end of the year. An expired membership can be renewed by following these steps:
- Navigate to reports from the menu, Client will land on the reports page. Select Expired Membership(s) in Memberships section, you will land on the list of expired membership(s) if any.
- Click on renew button
 for specific member renewal.
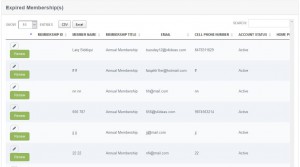
- Select membership type, press continue
 and user will be redirected to the renewal page.
 - Fill in the information, click on the button next
 to proceed with the payment process. If Membership is free, then user will not be proceeded to payment page. Member will receive a thank you email confirming the renewal, a copy will also be sent to client.
 - If membership type set as approval required, member detail go in approval list for approval.
- After approval member will receive an email of verification with LOGIN URL.
- If membership type set as approval note required, a thank you email goes to user as well as client with confirmation along with member login link
- If membership is renewed from annual to lifetime then member becomes eligible for voting.
Session can be created under the created event from event list as well navigate from menu. To create sessions, follow these steps:
- Navigate to the menu, expand events and click on the session and you will land on sessions list
- Click on create session button
 you will be directed to session create form
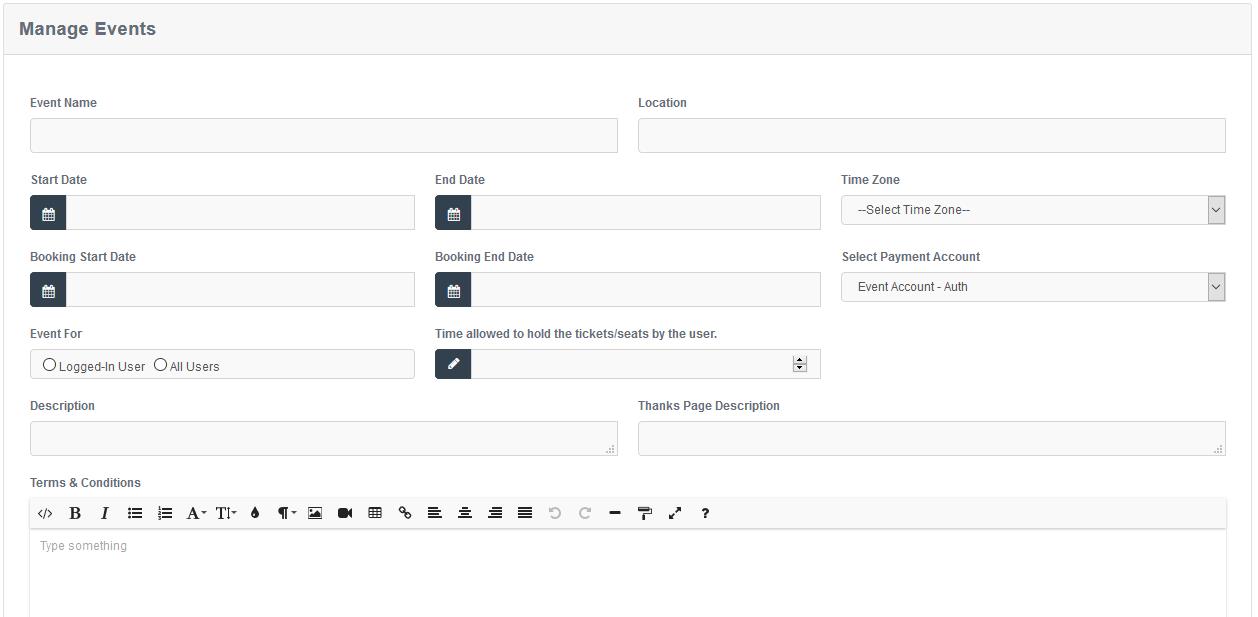
- With seating chart, an event key needs to be entered which can be copied from Seating charts.
- Without seating chart, total tickets quantity needs to be provided.
- Fill in the information and click on submit button
- Click on the back button to go back to the Sessions list
- By clicking on edit you will be redirected to edit where complete information can be edited.
- To delete a session, click on button, and you will be redirected on a confirmation page. (if any record is not associated with the session)
- Click on the duplicate button to create a duplicate session
- Click on the chart management
 to see the summary, status or to edit the chart.
Donation can be created in the system so that member and non-member can donate.
- Visit client portal
- Navigate to the menu click on Donation and you will land on Donation page, an existing donation list will be seen (if any)
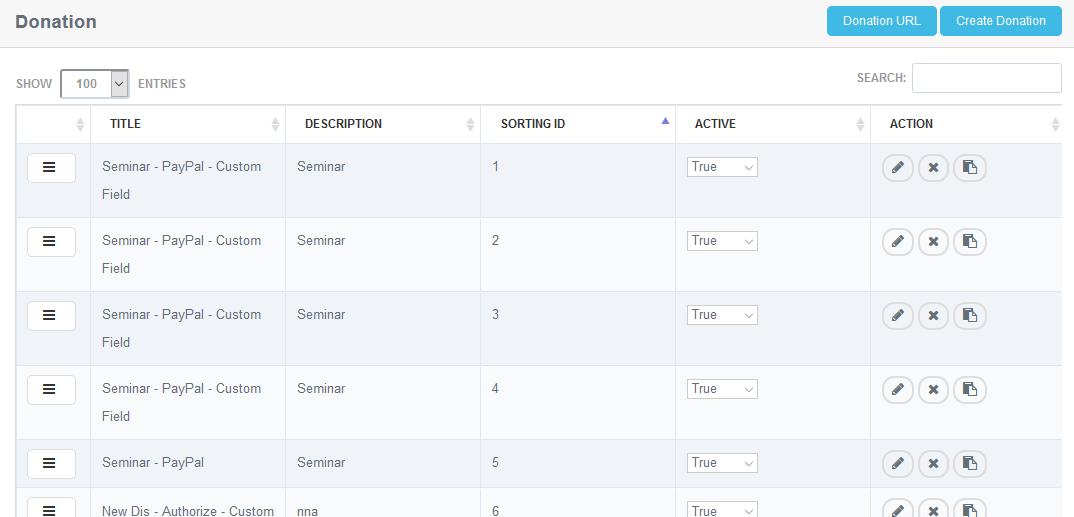
- Click on create button, to create a new donation
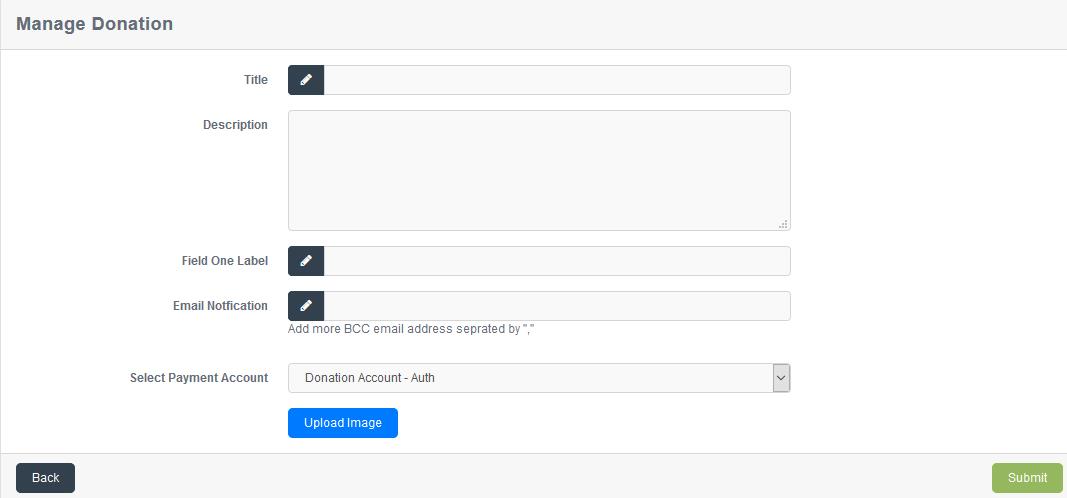
- Fill in the information and click on submit button to successfully create the donation.
- Click on the back button to go back to the donations list.
- To update an existing Donation, click on the edit icon on Donation list and the existing details can be edited.
- To delete an existing Donation, click on the delete icon on Donation list and the Donation will be deleted after confirming from you. (if any record is not associated with donation)
- Click on the duplicate button to create a duplicate Donation
- Click on the donation URL button
 to copy the URL of donation list.
 - Donation list can be accessed without logging in, can be shared and posted anywhere.
To create exhibition, follow these steps:
- Navigate to the menu, expand exhibition and click on the Exhibitions and you will land on Exhibition list (if any)
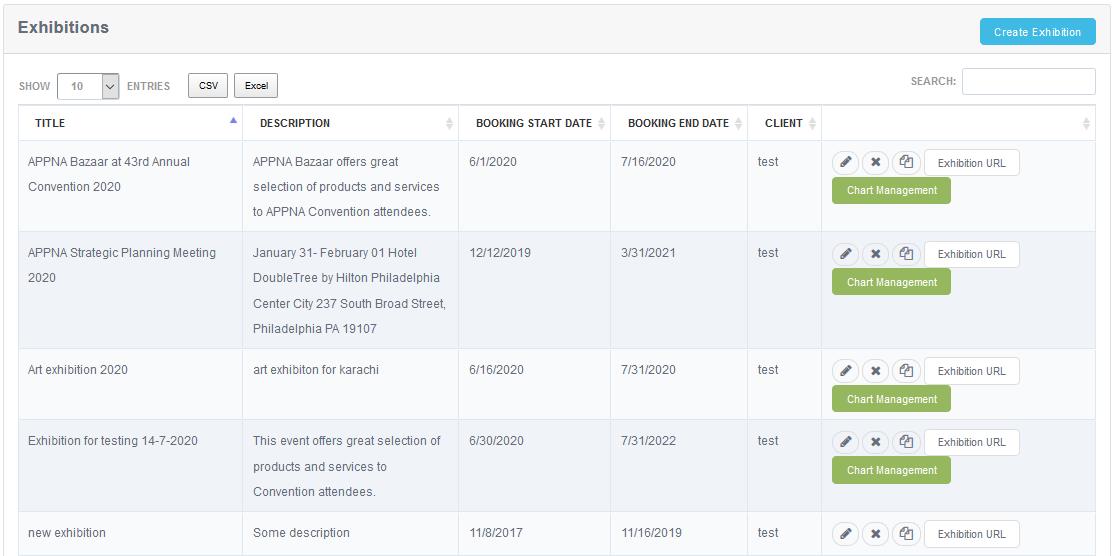
- Click on Create Exhibition button
 to proceed with the creation process.
 - An event key must be provided to generate the exhibition visual chart, from which booth/stage can be selected for registration by vendors.
- Fill in the complete information.
- A discount plan can also be added
- Click on submit button to create the exhibition.
- Click on the back button to go back to the Exhibition
- To update an existing Exhibition, click on the edit icon on Exhibition list and the existing details can be edited.
- To delete an existing Exhibition, click on the delete icon on Exhibitions list and the Exhibition will be deleted after confirming from you again (if any record is not associated with the Exhibition)
- Click on the chart management , to see the summary, status or to edit the chart.
- Click on the Exhibition URL button
 , to copy the URL of Exhibitions list.
 - Search box can be used
 ,for quick search.
 - List can be resorted by clicking on sorting option
 ,on each column.
 - List can be exported to csv or Excel formal by clicking on

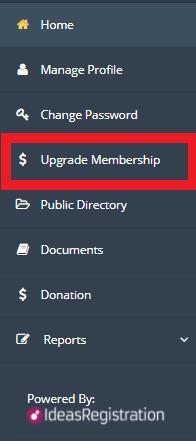
A membership can be upgraded by a member in such a way that after logging – in in the membership portal member should click on Upgrade Membership option on side bar.
This will redirect to the to the member upgrading page.
 To upgrade member, follow these steps:
- Click on Upgrade Membership from main menu to upgrade the membership and you will be redirected to the member upgrading page. To upgrade member, follow these steps:
- Select Membership Type and click on continue
 , you will be redirected on next step
 - Fill in the complete information which is not already provided
- Proceed with the payment process.
After completing you will be upgraded to lifetime membership and upgrade option will hide because you can only update once. * Members can also upgrade themselves to another membership or lifetime membership through their Portal/ Site.
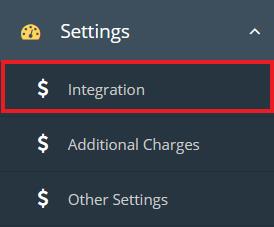
- Visit the client portal
- Expand Setting and select Integration from the menu
- Client will land on the Constant Contact integration page
i) Select ‘Constant Contact’ from Email Software dropdown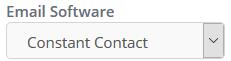
ii) Click on Login with “Constant Contact” button
- OAuth based Login
- Client will be redirected to the constant contact website
- Client needs to provide username and password and login in order to complete OAuth based login
iii) After successful login client will be redirected to ideas registration website and system will be connected to the client’s Constant Contact account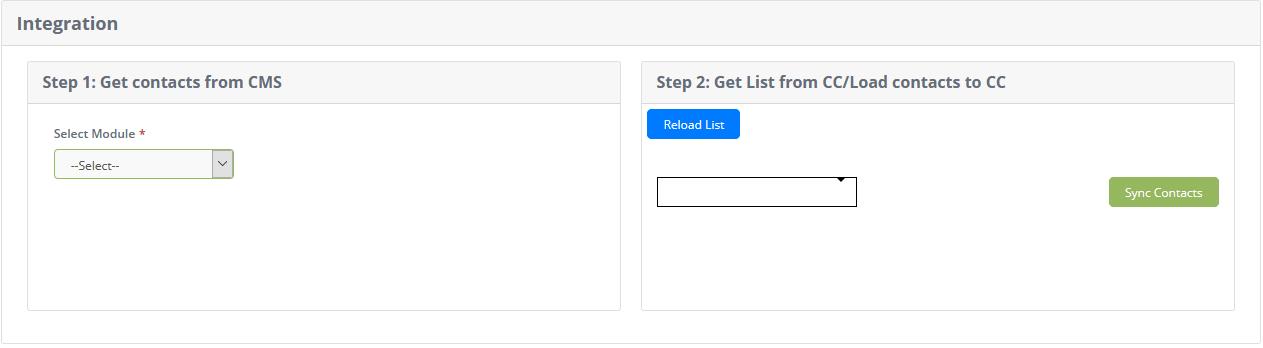
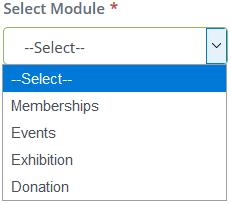
iv) Step1: Get contacts from CMS
- Select module and list details
- A list will be displayed according to the selected values
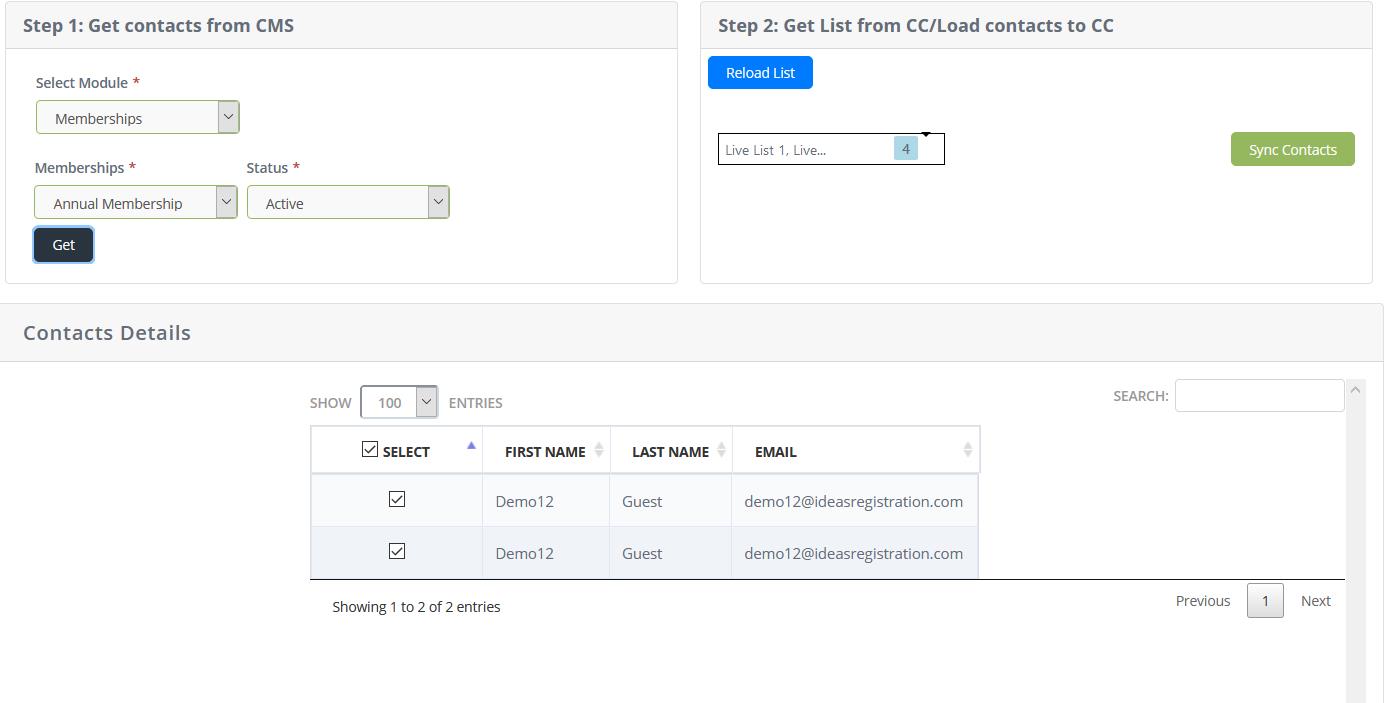
- List can be resorted by clicking on sorting option on each column.
- Search box can be used, for quick search.
- Select option can be used to select or unselect the email contact

v) Step 2: Get list from CC/Load Contacts to CC
- Select one or more lists from dropdown
- Click on “Sync Contacts” button
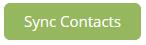 to load contacts to Constant Contact account.
In two Membership Terms we have
- Lifetime – never expires.
- Annual – Expires either after 365 days from the signup or on Dec 31 of that month.
We set the Annual Term setting ourselves
i.e. Either one year from the time of signup or automatically expires every year on Dec 31.
For Example:
- Lifetime Membership – Lifetime Term
- Annual Membership – Annual Term
- Student Membership – Annual Term
- Associate Membership – Annual Term
- Honorary Membership – Could be Annual Term or Lifetime Term
so and so forth…..